

Velociraptor Haunted House Prop Pages: 1 2 3 Next>>
Velociraptor Prop - Page 1
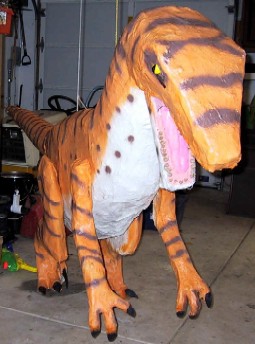
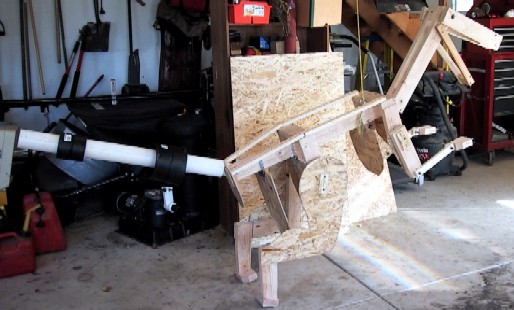
Finished Velociraptor Prop Front - 2004
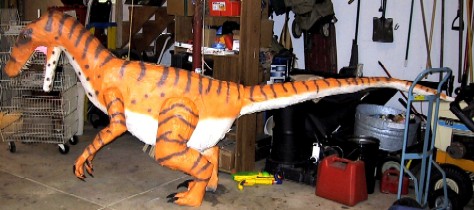
The Finished Velociraptor Prop From the Side - 2004
The velociraptor prop was something I had been thinking about building
for a long time - about five years, actually. My friend Randy and I had
discussed the project in 2002, but we never really got anywhere with it.
In 2004, I decided to take the plunge and design a Jurassic Park: Lost World room and that meant building this monster. This is the first prop for which I actually thought about photographing the complete process of building the thing, so you get to see this one from beginning to end. Lucky you!
Velociraptor Prop Body Construction
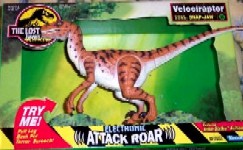
The Toy Used for Dimensioning

Velociraptor ACAD Drawing
For this prop, I started with a toy. Those who know me understand the toy origins
completely. I spent about 5 hours measuring and scaling the thing. I took those dimensions and drew the basic outline of the toy in
Autocad. (Not an easy thing to do with all those curves.) This allowed me to figure how the wood skeleton would be
constructed and
to grab dimensions off the drawings as I built.
Velociraptor Prop Body Construction - Wooden Skeleton
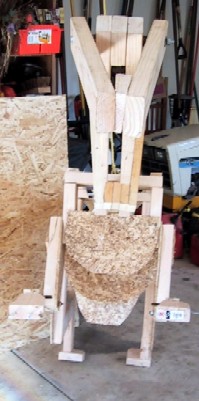
Velociraptor Skeleton Front
Velociraptor Prop Wooden Skeleton From the Side
From the drawing, I built the "skeleton" of the prop from
various items found at Lowe's and Home Depot. In these photos, you see the
2x4", 1/4" OSB, PVC pipe and various plumbing implements,
screws, bolts and other miscellaneous pieces of wood. The raptor was
designed to be fully jointed, but when I got the "skin" on him,
a lot of the joints had to be secured so that the paper-mache and
fiberglass wouldn't rend and tear.
Velociraptor Prop Body Construction - Skin
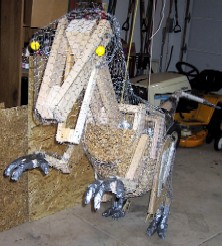
Chickenwired Velociraptor Prop - Front
Next came a layer of chicken wire in preparation for the paper-mache.
You'll also notice that the tail PVC has been extended and a great deal of
that magical substance duct tape has been incorporated to smooth out the
angles and corners. My friend Randy suggested using twisted chicken wire
wrapped in duct tape to create the fingers, toes and tip of the tail. This
worked quite well, except for some small problems that occurred later on.
Notice the yellow ping-pong ball eyes being held in by the chicken wire.
The body is about 68" tall and over 12' in length.
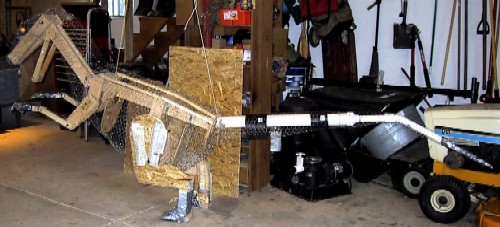
Side View of the Chickenwired Velociraptor Prop
Based on this experience, I must say that chicken wire is definitely not my favorite sculpting medium. My
hands were thoroughly scratched and bleeding by the end of giving the velociraptor his metal skin. Still, it was decidedly the best way to do this...for the short term.
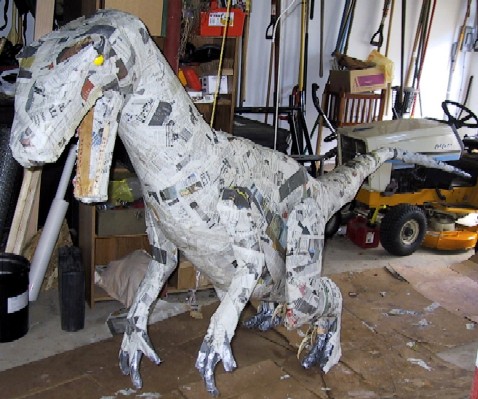
The Velociraptor Prop Wih a Coat of Paper Mache - Angled Side
Now she's starting to take shape! Note how the raptor is listing to the
side. I had to extend right rear leg because of this.
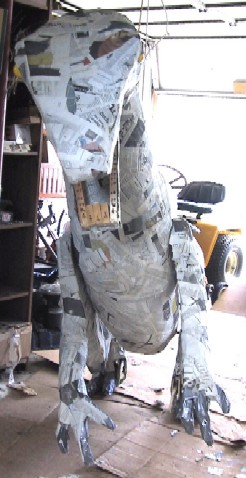
The Velociraptor Prop Wih a Coat of Paper Mache - Angled Side
The paper-mache part of the project took several days to complete. Paper mache does not hang well when it's perpendicular to graviy, so this required me to turn
the velociraptor over on each side, applying the gooey newspaper on the side parallel to the floor. After that all I coul do was wait the several
hours it took for the stuff to dry. The lower jaw was a real challenge.
If you look closely, you can see the extendable talons on the left rear leg. They were designed to pivot so I could position them for the best effect. More on that later.
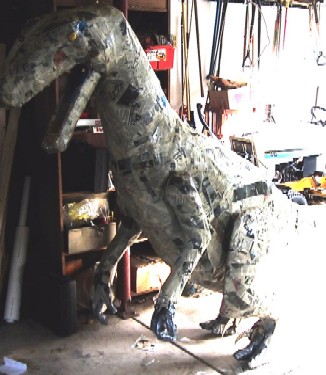
The Velociraptor Prop in Fiberglass Covering
My next step was to put the fiberglass on the velociraptor prop. I had not planned to start with paper-mache until Arno advised me that it
would make an excellent base for the fiberglass. Fiberglass turned out to
be an excellent medium for the prop. It bonded to the paper-mache and
seemed to get harder and harder with each after application. This proved to be quite durable in the Haunted House as
well.. The resin is toxic, however,
so care must be taken when working with it.
You may notice the fiberglass layer over the paper-mache. You may notice the shine of the resin in the photos. It was still slightly sticky in the surrounding photos. Fiberglass resin is the stickiest stuff I have ever worked with and it got all over everything. I was advised by my friend Arno to use it to give the prop durability when I was first considering the project.
After getting the inside of my garage just about completely covered in fiberglass resin, not to mention permeating everything with resin fumes, I decided to take the project outside.
Velociraptor Prop Body Construction - Paint
The next steps of the project required spray paint - something I didn't want to even try in the garage.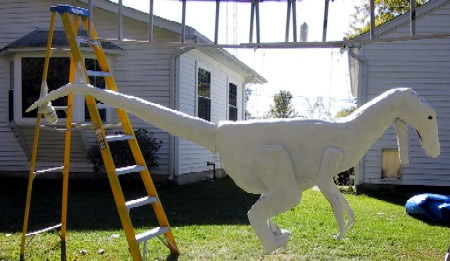
The Velociraptor Prop with a Coat of Textured Spray Paint
Here you can see the first coat of textured spray paint. I used this to give the skin a pebbly look and feel and to hide some of the seams in the fiberglass.
Following
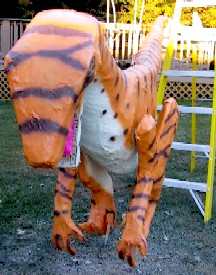
The Painted Velociraptor
the textured paint application, I was finally ready to apply
the actual raptor colors. I sprayed paints
in
orange, off white and dark brown. The whole process took about half an
hour.
A couple notes here. You can see the pink tongue in this photo - that's Hot Pink Model Magic - an old standby I had used on many props because of it's air-drying ability. You may also notice that the joints had not yet been tighted in this photo. I left the back of the prop open for mounting and adjustments.